Monday, November 30, 2009

Nov. 30, 2009 Advanced Class assignments

At Westchester we are continuing to create pieces that have a prescribed; theme, color theme, paper, letterform and text. The students have chosen a week to make the rules for that day. For the 7 weeks we will have these items listed and we will complete the assignment each week for a critique the following week. "If it weren't for deadlines, I wouldn't have anything finished" is a common mantra, so we are making it so you will actually finish the project. Today's assignment is: Nov. 17, 24, Dec. 1, 8, 2009, Jan.12, 19, 26, 2010
7 weeks Calligraphy Classes, DeAnn Singh Teacher
1. Format will all be 8 1/2”x11” or 11x17”
2. You can use roman capitals in any piece, along with the specified letterform.
November 17. DeAnn Singh
Theme: Alphabets, The Written Language
Color theme: Brown, black, yellow,
Letterform: Italic
Paper: Arches Text Wove
Text: From Ancestral Voices, Decoding Ancient Languages by James Norman
pg.5 Chapter 1 The Invention of Writing
Man has resided on earth for more than a million years, yet we know very little about how he lived or what he thought during most of this time. In some of these societies the spoken tongue must have become quite expressive, capable of conveying a wide range of man’s thoughts and intellectual achievements. But because sounds fade quickly, and words, though stored in the memory, are not safe from distortion, hundreds of these languages disappeared without leaving any trace behind. We have no idea what they were like because the speakers had no way of recording them for future generations. It is as if the people and their languages had never existed.
November 24. Helen Chu
Theme: Calligraphy is order
Color Theme: Metallic Watercolors or gouache
Letterform: Italic and variations
Paper: Black Arches Cover
Text:
ORDER is a lovely thing;
On disarray it lays its wing,
Teaching simplicity to sing.
It has a meek and lowly grace
Anna Hempstead Branch
December 1 Gayle Hatton
Theme: Letters
Color Theme: Black, white and favorite color
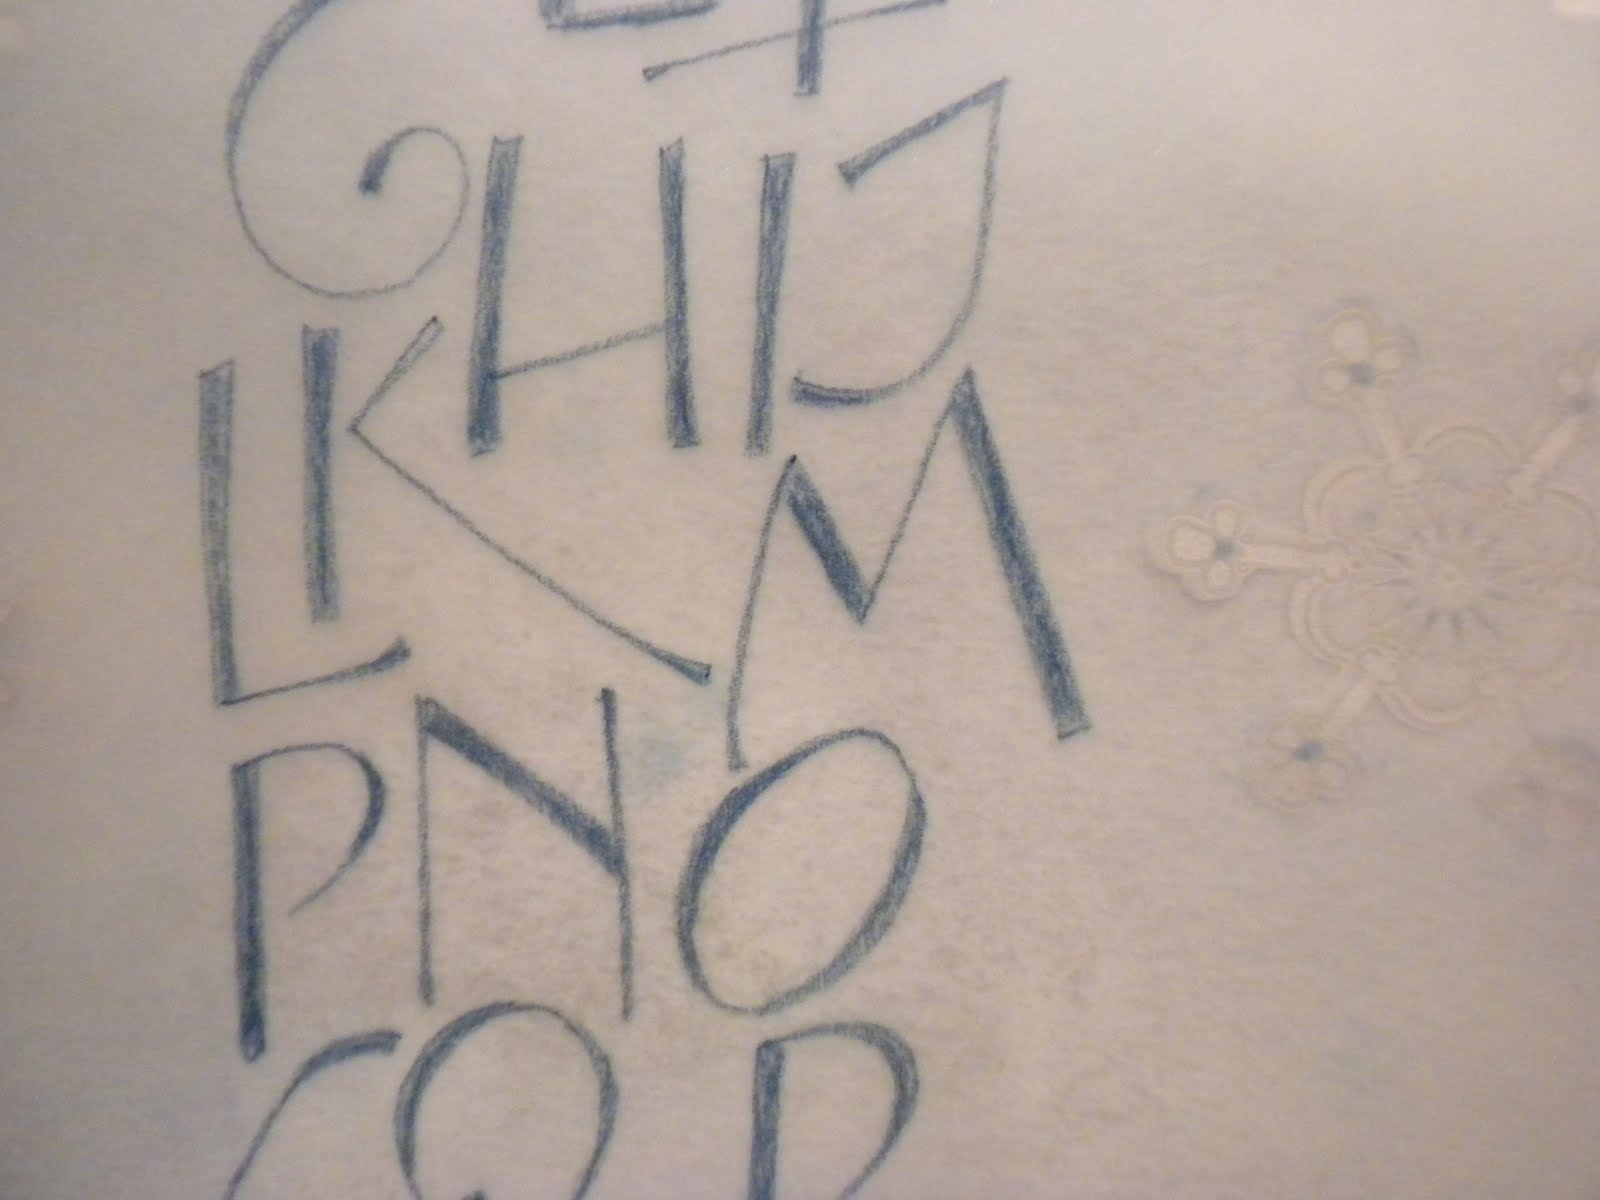
Letterform: Stacked alphabet
Paper: fabric- I will bring fabric for book cover
Text: Actions, looks, words, steps form the alphabet by which you may spell character. Johann Kasper Lavater
December 8 Francine Oller
Theme: The beginning
Color Theme: White, black, & one other BOLD color of choice.
Letterform:
Paper:
Text: A - The first letter in the majority of world alphabets. A letter of great mystic power and “magic virtue” with those who have adopted it, and with whom it’s numerical value is one.
January 12 Marjorie Grace-Sayers
Theme:
Color Theme:
Letterform:
Paper:
Text:
January 19 Geri Bieber
Theme: Development of Writing
Color Theme:
Letterform: Uncial
Paper: Arches text wove
Text: From: History and Technique of Lettering By Alexander Nesbitt
Writing grew out of pictures… The greatest stop, probably, in the history of writing, was the development of phonetic writing-the representation of sound… Our own alphabet begins with the Greeks when it changed the direction of writing to left to right.
January 26
Binding pages into a book.


Tuesday, November 17, 2009

Westchester Advanced Class book project


Westchester advanced students have been working on a book project where the format size is 11x17" and the theme is Alphabets. Everyone has made from one to four pages and we have color copied the pages so each one of the students have a copy of everyone else. We will ultimately bind them into a book. Here are some pictures of the pages. Our new class will carry on the theme of alphabet, written language, calligraphy or lettering.

November 14 Beverly Hills Carolingian Illuminated Manuscript


November 16, 2009

Beverly Hills Adult School Class #9: Today DeAnn demonstrated painting the versals (drawn letters) for our project.

Illuminated Manuscript Project Steps:

DeAnn estimates that it’s about a 5-hour project. Do one step at a time and don’t get overwhelmed.

1. Design Piece and choose words

2. Write words – figure out how many will work (about 40). Cut & Paste words and illumination. TIP: use removable Scotch Tape (with blue plaid)

3. Trace Decorated Caps and decorative elements. Trace onto the pergamanata paper with a 2H or harder lead. It won’t smudge as much (DeAnn has some for sale).

4. Get all prepared.

5. On the original (i.e. Pergamanata paper using the project template):

a. Trace Design

b. Write Text

c. Gild

d. Paint versals & decorated cap design

TIP for drawing a leaf (i.e. a pointy ivy leaf like the ones in the illuminated manuscripts): draw a square. Then draw half-circles on each side. Erase the straight lines of the half-circles & you’re left with a leaf-shape.

Demonstration of painting Versals: Versals are drawn letters. Draw them for the first 2 lines of the project. Use the Versals handout the DeAnn Xeroxed to the correct size (1/2-inch x-height) to trace them. Paint them in the gouache colors that you’re using in your decorated capital with a very pointy brush.

Tip to decorate the background of your Decorated Capital: Use “diapering” so that you don’t have large areas of just one paint color. Diapering is cross-hatching, or drawing swirling vines, or painting small circles or dots, to fill a solid-color space.

If you feel the margins are too “empty,” fill it with filigree – ovals and figure-eights with a pointed brush, or use a Copperplate nib for really thin lines. Just fill the Copperplate nib with the gouache and draw the filigree lines.

HOMEWORK: Really try to finish your project. Remember, illumination can never be too gaudy, so go for it! You have to do it to learn it.

Next semester DeAnn will be teaching Gothic and the project will be a similar illuminated manuscript piece.

REMINDER: next week is our last class – POTLUCK!

Sunday, November 15, 2009

Beginners Material List

Material List

For 1st Semester Beginners

DeAnn Singh

DeAnnSinghCalligraphy.blogspot.com

Designingletters.com

Don’t substitute supplies listed below before checking with the teacher. Most art stores offer student discounts. You must ask BEFORE you check out. Carry your registration form with you as your student I. D. I will have materials to purchase during 1st class of the semester. If you have supplies bring them to class and I’ll check them out.

1. Nibs-Speedball B series: B1 and B5 1/2 or 1 large & 1 small (Gothic won’t need B nibs)

Brause: 1mm, 1 1/2mm, 2 1/2mm, 5mm.

left handers: Oblique Mitchell Rexell nibs for left handers number

1 1/2, 2 1/2, 4, Speedball C-0 Oblique and the two Speedball B series

nibs listed above. (Gothic won’t need B nibs)

2. Pen holder-1 Brause pen holder with one flat side (you can put a nib in both sides).

3. Ink- (black)such as:Higgins Eternal and 1 colored ink- such as: Calli

4. Paper-Beinfang 8X8 cross section grid paper 17”x 22” tablet.

*Don’t get “Clear Print”

5. Drawing board- 20” x 24” Masonite or drawing board.

6. Blotter paper-(optional) for your drawing board for cushioning.(optional)

7. Ruler- Plastic C-thru 18” x 2” ruler with cross section grid.

8. Pounce- (optional) Get only if the paper resists the ink.

9. Ink well “Inky Dinks” (purchase in class)

10. Rag- big enough to wipe up spills, and absorbent to wipe nibs.

11. Masking tape- or drafting tape, to tape down ink & hang up work.

12. Folder and Note paper- Pocket folder for handouts and notebook paper to take notes during class. I recommend a Sketch book to keep long term notes.

13. Pencil and eraser

14. Scissors

15. 1 or 2 Dropper Bottles. Put your inks into these. This is cleaner and more efficient.

Tuesday, November 10, 2009

Hand out for gilding instructions

Gilding Notes

class by De Ann Singh

There are a number of methods of applying gold leaf to your artwork. There is raised gold that is on a ground of “gesso” and shines more brilliantly than anything else. This is the method that seems you have to be a “chemist” to accomplish. I remember wearing a respirator and big rubber gloves and using a muller to grind a batch of gesso and thinking, “ Gee,when I started calligraphy all I wanted to do was address pretty envelopes!!!!” I felt like a mad scientist at the time. I haven’t made a batch of gesso since, and I think that’s been 17 years ago. Having said that, nothing compares to raised, burnished gold on a gesso base.

Another method is considered “flat” gold. A traditional material to use is gum ammoniac. This is called the adhesive. You need to apply some kind of adhesive to the paper in which to stick the gold. I gave up this method after straining sticky gum ammoniac through a nylon stocking after heating it in the microwave. (I don’t think this is the historic way of preparing this adhesive). There are many acrylic based liquids that serve as adhesive for flat gilding.

The liquid that I have had the best success with and is very easy to use is a mixture of Sobo glue and water. Sobo is a white craft glue that is PVA or poly vinyl acetate. I will describe the procedure of gilding using this adhesive.

Mix 2 parts Sobo glue with 1 part water.

Add 1 drop red watercolor or gouache (the red is added to make the glue show up on the paper after it dries).

Carefully paint the areas that you want the gold to stick to with the mixture described above.

Paint 3 thin coats of glue on desired area. Let the glue dry between coats or the paper will wrinkle. Try not to get “brush strokes” in the glue, you want the surface to be as smooth as possible.

Clean your scissors and burnisher with silk (so gold won’t stick to them).

Cut piece of 23k patent gold to the size needed. (Easy Leaf 6001 Santa Monica Bl. LA CA 90038, Hollywood)

Remove your lipstick.

Breathe hot air onto the area you painted (very similar to fogging up your glasses to clean them).

Place the gold very carefully face down on the desired area.

Press down gently all over the surface of the adhesive, don’t rub at this point.

Pull the gold up very gently. Save big pieces and any salvageable pieces of gold for other areas. Don’t obsess over saving every bit, though.

Place a piece of glassine (the paper that stamps come in from the post office) over the gold and gently burnish down the edges and surface with a dog tooth agate burnisher. Other spoon shape burnishers work but don’t use metal directly on the gold leaf. Look at the gold through the glassine. It will help to see any defects, cracks and tears in the gold. If there are, put some more gold right over the top of the defect and burnish it down. Gold will stick to gold. You may need to breathe on it again before you apply the patch.

Use a soft brush to brush away the excess gold, moving in the direction of the design, try not to pull the gold away from the edges.

Use a #16 blade x-acto knife to clean up the edges. Do this by pulling the blade along the right side of the design and scrape the gold and glue so that it has a clean line. Do this around all the gold. It helps to pull the blade toward yourself.

When you are all finished, do the final burnishing.If you use the agate burnisher you can burnish directly onto the gold. If you use a metal one, place the glassine between the gold and the burnisher. Rub over the whole design and watch it polish up to a very nice shine.

This method gives a very respectable gilded surface and can be used with a moments notice and only takes a little while to complete.

Happy Gilding!!!!!!

Singh 2001

Gilding Notes Beverly Hills Nov. 9, 2009

November 9, 2009

Beverly Hills Adult School Class #8: Today DeAnn had us make some adhesive and put gold leaf on the “S” from last week’s example.
Recipe for adhesive for flat gilding
2/3 part Sobo glue
1/3 part Water
Make in small jar
Add a tiny amount of red or orange watercolor to tint it lightly so that you can see where you’ve painted the glue. Red or orange color will enhance the gold color.
Steps to illuminate the sample “S”:
1. Make adhesive
2. Paint the “S” or the Background
3. Use the #1 brush to paint the glue onto the “S”
4. Paint 3 VERY thin layers. Try to keep them smooth. Cover the pencil line.
5. Rinse brush frequently (reminder: 2 containers of water, one for dirty, one for clean).
6. Prepare gold leaf: if desired, cut into a smaller piece with “gold only” scissors that have been cleaned with silk.
7. Breathe on the adhesive to rehydrate, then place the gold leaf on it. Press gently but don’t rub; rubbing may break the gold.
8. Remove excess gold with a soft brush.
9. Burnish gold with burnisher over glassine. However, if you’re using an agate burnisher, you can burnish directly on the gold leaf.
10. Clean edges by scraping with an X-acto with the #16 blade.
11. Paint background of the gold “S” with gouache (choose a color that will make the gold “pop”; e.g. yellow is not a good choice.)
12. Once you’re done painting, outline the gold “S” with the Micron Pigma 005 pen.
HOMEWORK: Continue working on your project and also the sample “S” illumination.

Friday, November 6, 2009

Book Signing Party


Sunday November 1st 2009


Book Signing


Book Signing was a success!!!!


The party on Sunday at Stampin' From the Heart was FABULOUS! Here are some pictures. We had lots of good food. Make and Takes and Demos were fun and lots of door prizes. Thanks to all of you that came out and those of you who sent good wishes. Marci Donley is soo great it is a privilege to have her as a friend!!!

Monday, November 2, 2009

Nov. 2, 2009 Bev Hills

November 2, 2009

Beverly Hills Adult School Class #7: Today DeAnn demonstrated illuminating and had the class traced an initial capital and paint it.

The handouts were the sample initial capital (an “S”), a piece of pergamanata paper and a piece of and palette paper to work on, two Lombardic samples.

Illuminating a letter:

1. Choose 3 colors (include one of the greens) and zinc white. Gouache, an opaque watercolor, is used for the paint. Place a dab of each color on the palette paper; even if it dries, you can reconstitute it with water.

2. Trace pattern (initial capital) onto Pergamanata paper. A pencil that you can use for outlining is the Staedtler lead holder, which is a mechanical drafting pencil. Its sharpener has both a sharp & dull setting and also a pad to brush off the excess graphite after sharpening. Use 2H.

3. Paint glue (adhesive for gold leaf, recipe: 2/3 Sobo glue, 1/3 water, touch of red watercolor) onto initial capital with pointed brush (e.g. size 0 or 1). Try to paint on a smooth layer (you’ll be painting 3 layers). Let dry, then paint another layer.

4. For the colors, put zinc white next to each color. Add the tiniest bit of color, then a drop of water, to mix a tint. (TIP: have 2 water containers, one for dirty, one for clean. Always rinse brush in the dirty container first, then rinse in the clean container).

5. Paint each leaf half of one color, half in that color’s tint. Make sure the first color is dry before painting on the other half. (Don’t paint the leaves around the capital “S” yet – paint that after the gold leaf is applied).

6. Once all the leaves are painted & dry, “diaper” them with permanent white gouache. With a small pointed brush (e.g. size 0 or 00), decorate each leaf with lines, cross-hatching, or dots.

7. Once the gold leaf adhesive is dry, you’re ready to apply the gold leaf. To prepare, clean a “gold only” pair of scissors with silk – you don’t want any sizing on the scissors or else the gold will stick to them. Cut the sheet of gold leaf to the estimated size of the initial cap.

8. Breathe on the glue so that it absorbs some moisture. Then place the gold leaf on it and press gently all around. Press the outlines, making sure the sides (the glue will be slightly raised) are also completely covered with the gold leaf.

9. Remove the backing paper carefully so that you can save any gold that sticks to the paper.

10. Place a piece of glassine (acid-free, non-stick paper; the Post Office envelopes for stamps are glassine) over the gold leaf and press the outlines, making sure the sides (the glue will be slightly raised) are also completely

11. Burnish the gold leaf (several types of burnishers in different shapes & sizes: e.g. Griffold, Agate).

12. Clean up the edges with an X-acto knife with the #16 blade. (TIP: Every calligrapher should have the #11 blade and #16 blade.) Scrape toward you to clean the edges of excess gold.

13. Outline each leaf in black with a Pigma Micron 005 pen.

14. Paint the stems with the small pointed brush in green, then again right next to that stroke with the green tint.

REMEMBER: with illumination, you can never be too garish!

Next week: DeAnn will have the gold leaf and the adhesive for students to purchase.

HOMEWORK: Practice writing your project text with 1 1/2 mm Brause nib (use project template for lines). Begin blocking out project on pregamanata.

Oct 26, 2009 Bev Hills

October 26, 2009

Beverly Hills Adult School Class #6: Today DeAnn brought in lots of books about illuminated manuscripts and decorative capital letters for us to look at and take pictures of.

The handouts were the template for our illuminated manuscript project (8 1/2 x 11 size) and an exemplar for Versals and Lombardic.

Project Template: DeAnn recommends highlighting the waist-base lines which you’ll write on so that they’ll be clearly visible even under the pergamanatta paper to be used for the project. Use the 1 1/2 mm Brause nib with black ink for the body (about 40 words will fit). You will be drawing & painting in the initial decorative capital and the first four lines.

Look at Books for Ideas:

1. Color Schemes – e.g. Red-Blue-Green; usually 3 colors & their tins

2. Style - i.e. Flemish, Celtic, Leaves, white vine

3. Trace Letters or Designs – you can Xerox the decorative capital bigger or smaller to the desired size needed for the project

4. Use Camera to take pictures of letters and decorations

5. Use 1 1/2 mm Brause nib

6. We will paint with gouache or watercolor

Don’t get overwhelmed – as Eleanor Roosevelt said, “You must do the thing you think you cannot do!” Break down the project into steps and work on one step at a time:

1. Choose text (poem, song lyrics, excerpt from long piece)

2. Trace decorative letter that is the first letter of your poem. Trace other decorative elements you like.

3. Take photos of manuscript pages in the style you like.

4. Draw the first few words in Versals and Romans (follow project template)

5. Write text in black ink with 1 1/2 mm Brause

DeAnn’s tip: whenever you feel overwhelmed, practice your text.