
Today DeAnn talked about writing on good paper, demonstrated how to line paper, and had us write in white ink on dark paper.
Homework by Sabina:
(click on the image to see a larger version; click the x-box to close and return to the blog).
 |
| Sabina's alphabet word list of fish |
 |
| Another version of alphabetical fish by Sabina |


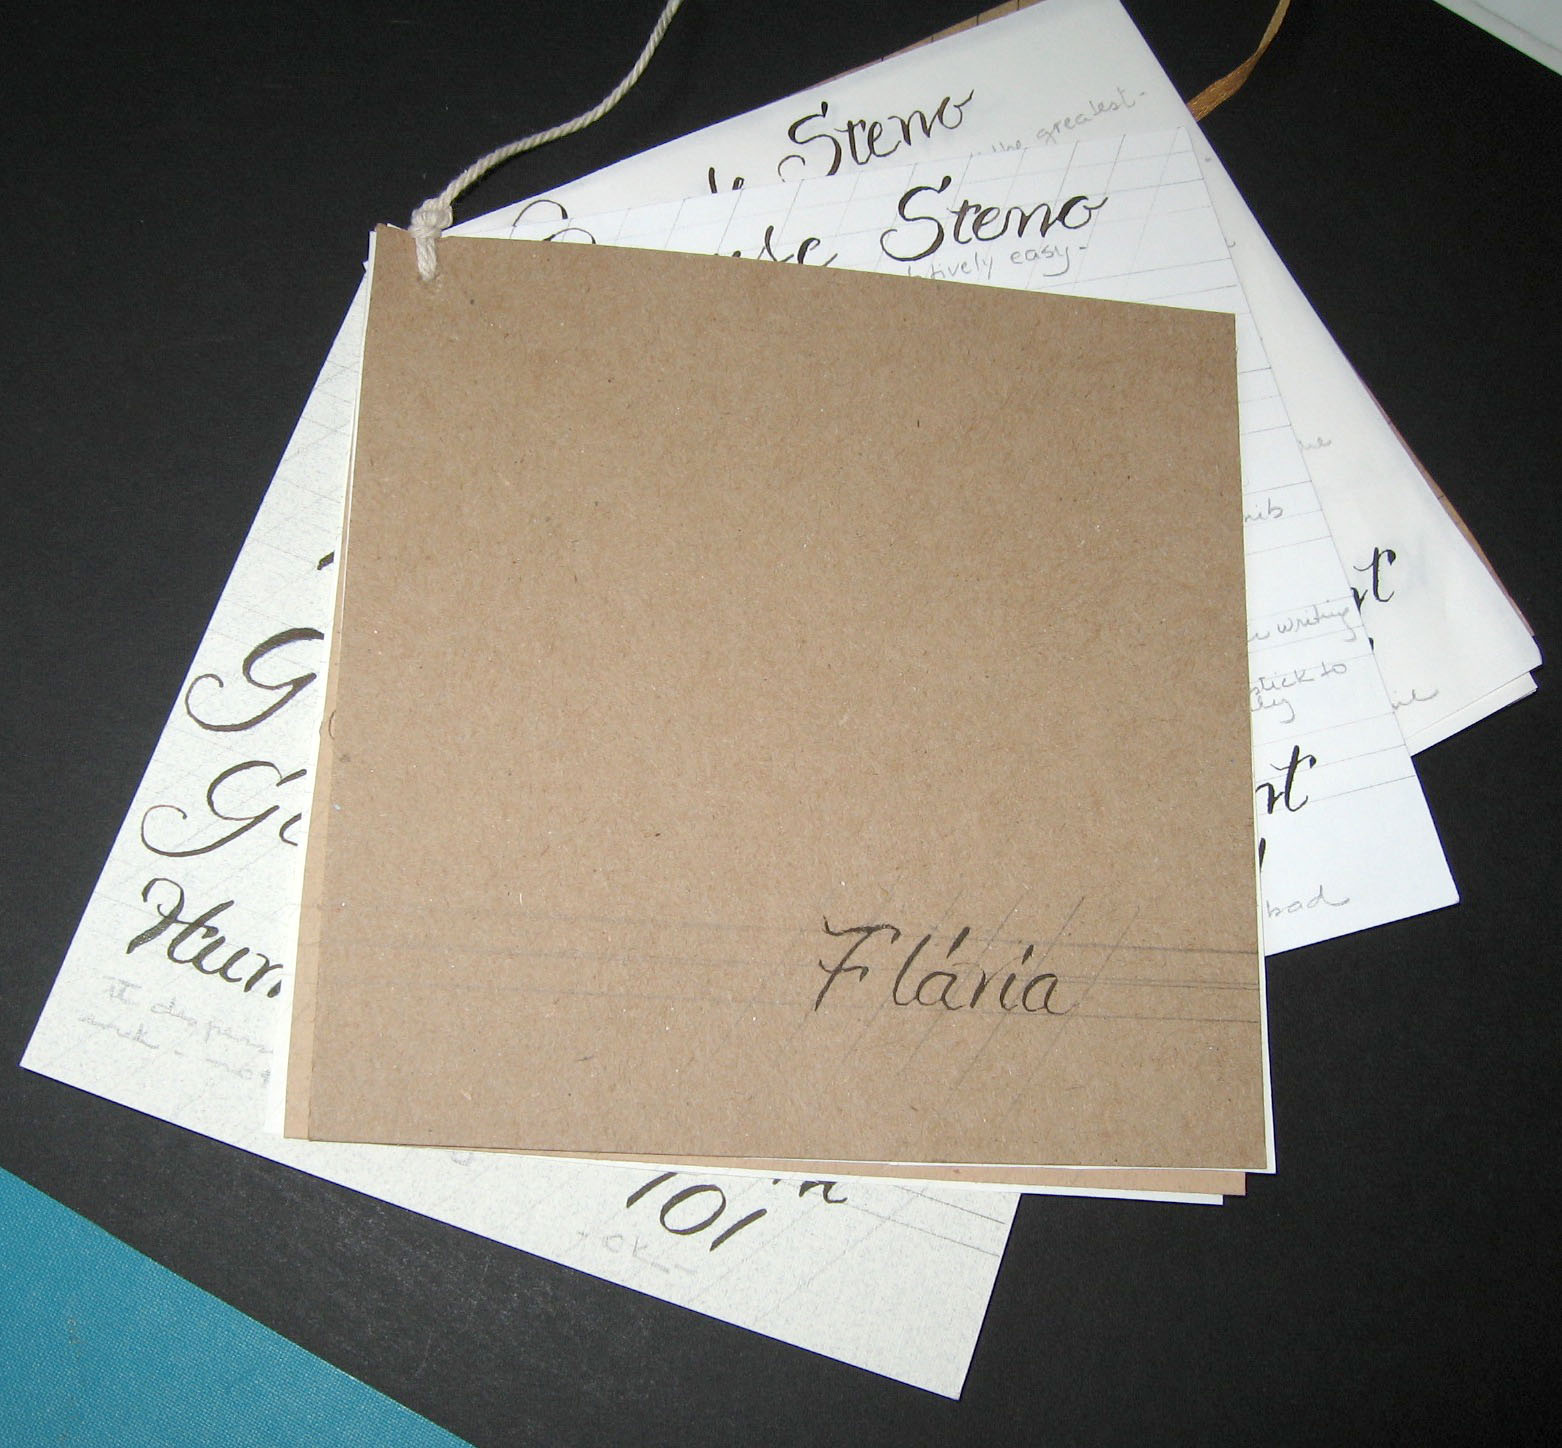
Great sampler idea from Flavia: Flavia made a little booklet out of the different papers used for the different nibs/ink sampler.

Writing in white ink on dark paper: DeAnn brought several kinds of white ink for us to try. The inks included Pearlescent (Daler Rowney), FW Acrylic, Spectralite, Tri-Art, Pro-White. Some had to be thinned with water so it would flow from the nib or have some gum Arabic added to make it “stick” to the nib.
 |
| Sabina writes in Pearlescent ink on the red paper |
DeAnn passed out red card-stock which we cut in half to make two sheets. A sharpened pencil is very important. If it’s dull, it will affect the x-height. On one of the sheets, we made a 1-inch margin on three sides (left, top, right). Because the C-thru 18” ruler is 2 inches wide, line up the edge of the paper to the 1-inch mark on the ruler so you don’t have to make any measured marks for the margin. On the small guidelines sheet, draw a line 1-inch away from the margin, then fold it over so that the guidelines come to the end of the paper.

Align the ascender with the top margin line on the red paper. Then make marks down the left edge for the waist and base lines only. Do the same thing on the right side. Then with the C-thru ruler, line the paper by placing your hand in the middle of the ruler to hold it steady, then pulling the pencil from left to right, angled in the right direction. This will sharpen the pencil while you line. Make the lines from top to bottom, sliding the rule down as you go.
TIP: Line with pencil on dark paper so that you can see the lines when the light hits it at the correct angle; they will look silver-y.

Observations: Students had difficulty writing on the red paper, both due to the ink and the nib. If the ink is too thick or gloppy, thin with water, starting with one drop at a time. If the ink is too thin and won’t stick to the nib, then add gum Arabic one drop at a time. Nibs that students recommended were Gillot 303, Hiro 30EF, Hunt 56.
Tri-Art ink had to be thinned with water and also have gum Arabic added until it would write.
 |
| Judith uses all the nibs to write a sample |
TIP: If the Hiro 30EF nib is hard to push into the pen-holder, try soaking the pen holder in very hot water. This softens the plastic slightly. Then push the Hiro 30EF nib into it. If you can’t take it out later, soak it in hot water again, then pull the nib out.
Reminder on Class Project: You should have chosen a poem for the class project by now. It should be about 50 words. Even if the poem is much longer, you can use an excerpt.
DeAnn’s recommended papers:
Canson Ingres
See http://www.dickblick.com/products/canson-ingres-drawing-papers/
Canson Mi-Tientes
See http://www.dickblick.com/products/canson-mi-teintes-drawing-papers/
Strathmore Charcoal
http://www.dickblick.com/products/strathmore-500-series-charcoal-papers/
DeAnn had pieces of Arches Watercolor paper, 140 lb. Hot Press for sale. Students could buy a piece to write out their poem for the final project. This isn’t the paper for the final project.
HOMEWORK: Try writing with vermillion on black paper. Mix white with another color to try on the red paper. Practice writing your project text (poem). Then if you bought a piece of watercolor paper, write out your poem on that, using any nib/ink you like. You can write on both sides since the paper is thick.

NEXT WEEK: DeAnn will demonstrate flourishing.
No comments:
Post a Comment