

Practicing on bond paper: Because the Borden & Riley smooth cotton comp paper is transparent enough to see the project template through, DeAnn suggests practicing on that. She has sheets to give or you can buy a pad from her. If you’re still practicing at the 2 ½ mm Brause nib size, go down to the 1 ½ mm Brause nib (x-height = 2 boxes) since that is the size for the project. Practice writing your text.

Using the lead holder with 2H lead: for lining calligraphy projects and tracing letters or decorative, DeAnn highly recommends using a lead holder with 2H lead, because you can’t get a sharper point on a graphite pencil than using the lead pointer on this pencil.

The lead holder will come with HB lead, which is too soft for lining. DeAnn has 2H lead for purchase. To sharpen the lead, push the end of the holder to release quite a bit of lead. Look closely at the top of the lead pointer – there are two holes, one with a sharp triangle, the other with a square top. Place the lead into the hole with the sharp triangle, then push the end of the holder to bring the body of the holder to that level. Then clasp the lead pointer in your left hand, place the lead holder into the cylinder, and rotate clockwise until the grinding noise disappears. Your lead is now very sharp. Push into the white felt pad to remove any graphite dust.
DEMO of painting with gouache: First, trace a decorative capital onto the pergamenata scrap, like the sample “S” handed out in class last week. If you can, use a pencil with 2H lead. 2H lead is also available for mechanical pencils at art stores. DeAnn has lead sharpeners for mechanical pencil lead for purchase.
Gouache is an opaque watercolor. It comes in tubes of various light fastness ratings. DeAnn uses Winsor & Newton Designers’ Gouache. For the illuminated manuscript project, you will need permanent white and at least 3 other colors of your choice. Look at the illuminated manuscript examples for ideas on color combinations. You don’t have to stick to a historical palette (for example, red, blue, and yellow). Try different combinations of colors that you like.
Difference between Permanent white and Zinc white: Permanent white is more opaque, so it’s better for painting and using to mix with other colors. Zinc white has pigment that is ground finer, so it’s better for writing.
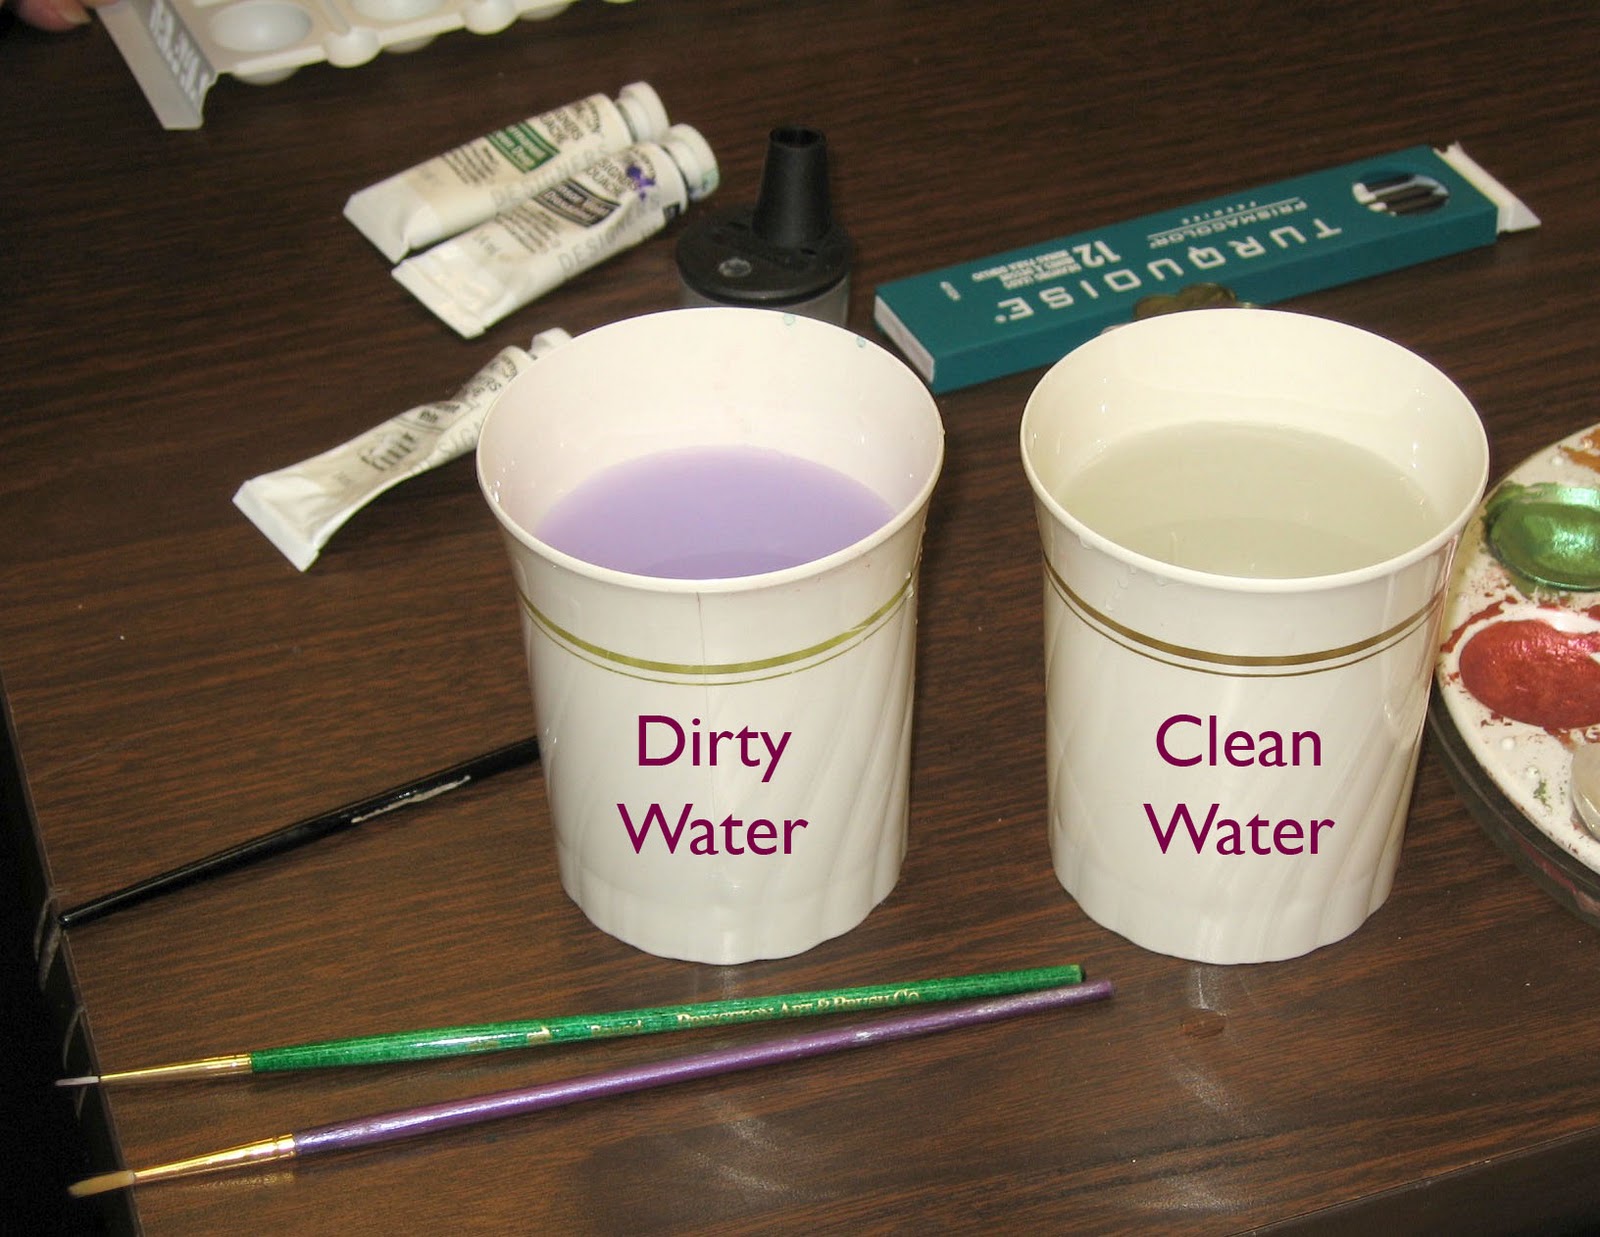
Set up your workspace: have 2 water containers, one for dirty, one for clean. Always rinse brush in the dirty container first, then rinse again in the clean container.
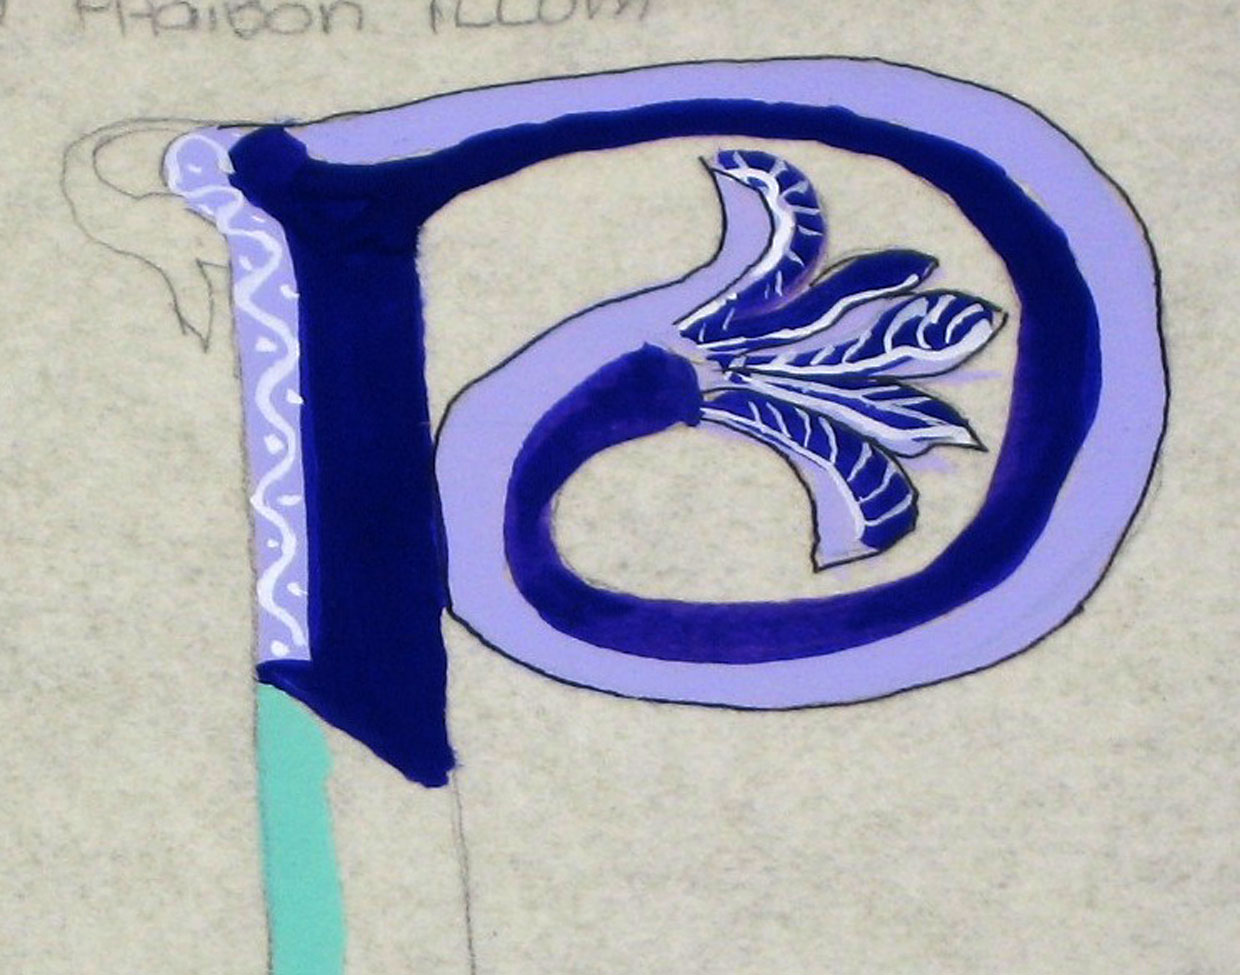
Using gouache: DeAnn chose winsor violet and permanent green deep for the sample “P” decorative capital. In a palette with several wells, place a pea-size drop of each color to be used. Start with white. Add 3 drops of water and stir until it has no lumps and has a creamy consistency.

NOTE: You can let gouache dry and reconstitute it with water to use again later. Let it dry uncovered (or covered with wax paper). If you seal it while still wet, it could mold. Once the gouache is dry, then seal it with plastic wrap or clear packing tape over the wells.

For the colors, put white next to each color. Add the tiniest bit of color, then a drop of water, to mix a tint. Winsor violet is a rich color, so be careful to only add a little color at one time.
Paint half the letter in the full color, then half in that color’s tint. Make sure the first color is dry before painting on the other half. Paint right over the pencil outline. Paint toward yourself for more control. Stir the gouache often because it will settle.

Once all the paint is dry, “diaper” them with permanent white gouache. With a small pointed brush (e.g. size 0/0), decorate with lines, cross-hatching, or dots. “Palette” the brush so it’s sharp; this means to twirl the brush against the back of your hand or a flat part of your palette to make it pointed. DeAnn highly recommends the Winsor & Newton Series 7 brush for these fine details, but Utrecht also makes a good brush that may be more economical.
Once you’re done painting, clean up the edges with an X-acto knife with the #16 blade. (TIP: Every calligrapher should have the #11 blade and #16 blade.)
Outline in black with a Pigma Micron 005 pen.
REMEMBER: Illumination can never be too gaudy!
 |
| Satomi's Example "H" |
 |
| Note the diapering in the acanthus leaves. |
Acanthus leaves were a popular decorative element in illuminated manuscripts.
 |
| dots as a decorative element |
Decorative capitals within the text: You can paint smaller decorative capitals within the text or in the left margin in the colors used in the project.
HOMEWORK: Continue practicing your text – definitely move down to the 1 ½ mm Brause nib. Practice writing your text on the Cotton Comp paper using the project template as a guide.
No comments:
Post a Comment