
Today DeAnn reviewed common problems and demonstrated drawing a word in the Copperplate lowercase alphabet.
For warm-up, we practiced writing alphabet sentences. DeAnn took questions from the class about any problems that occurred during the week’s practice.
Review of writing “x”: start with a #4 stroke but make the downstroke a diagonal. Imagine parallel lines running down the center of the arches of the #4 stroke. Then start the initial dot of the upstroke slightly above the base line which intersects the imaginary center of the arch. The alternate “x” is a #2 stroke that curves inward and ends with a terminal dot. Then a “c”-like stroke.

Example of a word with double-f:

Good habits: put your rag on your lap so that it’s easily accessible. Wipe your nib off every 20 minutes to prevent it from getting clogged up. Be aware of your posture: is your whole right arm on the table? Is your left hand placed above your writing as a weight? The nib should be in the direction of the slant lines. Otherwise the nib will eventually get tweaked if you’re not writing with it in the direction of the slant lines.
Be aware of the pen angle at which you’re writing. If you’re holding the pen at too high of an angle, then pressurizing the nib won’t give you good downstrokes. If you’re holding the pen at too low on an angle, your upstrokes may be too thick.

If you’re having problems seeing where you’re writing clearly, try writing on the board at an angle. This may give you a better view of your paper.
Diagnosing the problem when you’re having problems writing with a nib: If you’re having problems writing with the sepia (brown) or black ink, switch over to the vermillion. If you’re able to write with the vermillion ink, then it’s probably the ink’s fault, not the nib. If the ink is too thick, it won’t flow smoothly down from the reservoir even after you’ve just dipped it. Add a drop or 2 of water until it flows better. If the black ink just runs out of the nib, add a drop of gum Arabic until it sticks better to the nib.
Tips for really difficult nibs: some nibs like the Hiro 40 are really difficult to “break-in”. If the ink still doesn’t stick after rubbing it with gum Arabic many times, try sanding the nib with very fine sandpaper or crocus cloth (Armenian bole pressed into cloth), available at a hardware store. Sand both sides of the nib. This is to roughen up the surface so that the ink will stick better. Try dipping the nib into the ink – it shouldn’t bead up and roll off.
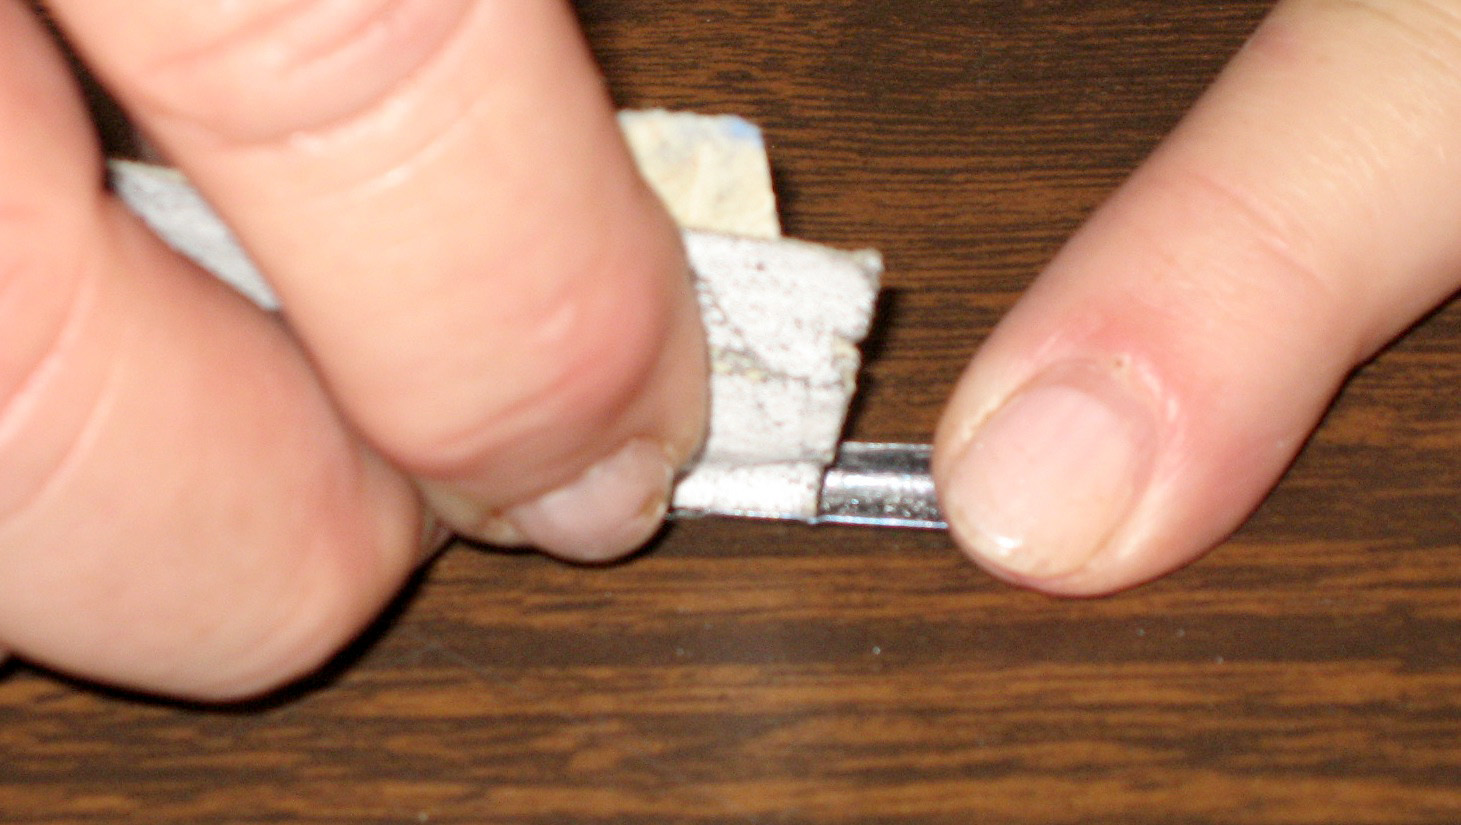
As a very last resort, use a match to heat the nib. Place the nib into your holder very shallowly so it sticks out a lot. Then light the match & pass the nib through the flame just twice.

WARNING: Don’t heat it too much, it ruins the nib so that the first time you write with it afterward, the tips bends backwards.

Friendship Exercise: Use a pencil that’s been sharpened. Have an eraser handy. DeAnn recommends the Staedtler Mars Plastic Eraser. Cut pieces off with an X-acto knife so that you have an eraser piece with sharp corners and edges. This enables you to erase with better precision.

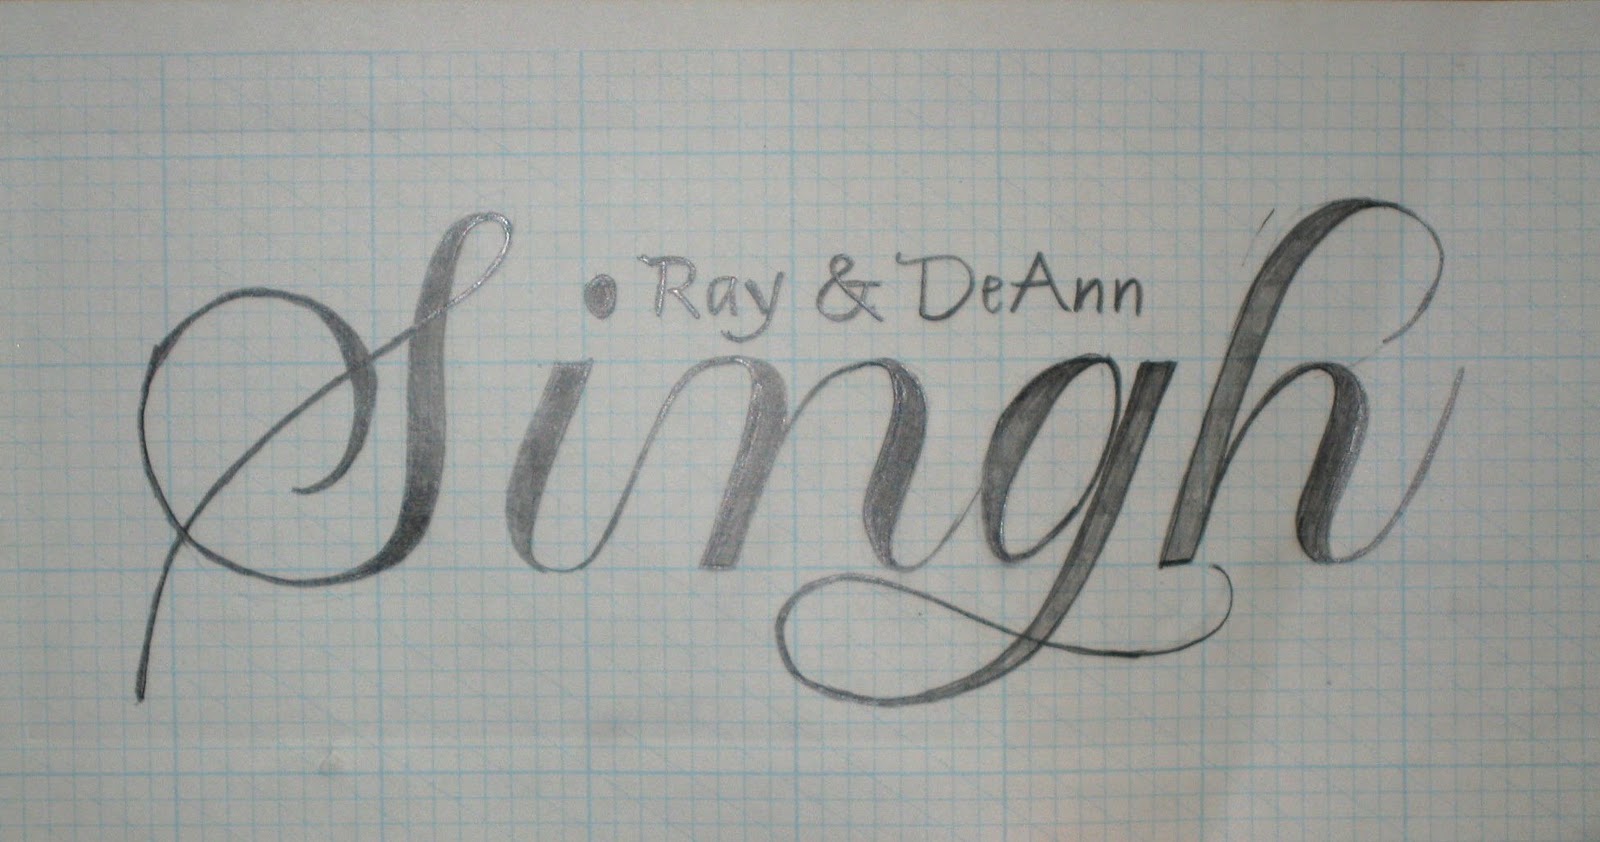
Study the exemplar and the “friendship” handout. The x-height is 1-inch. First trace the word “friendship” on your paper. Pay close attention to where the thicks and thins start as you increase and decrease pressure. Study the width of the downstrokes and the spacing. Work one letter at a time. After you’re comfortable with tracing “friendship” from the handout, try drawing it yourself on the 1-inch x-height guide line sheet. Then draw your name. DeAnn will review this very critically next week. Don't worry about capitals yet, DeAnn will go over capitals next week.
Banner paper: DeAnn handed out yellow or blue banner paper for us to write our names. Once you’ve drawn your name on the cotton comp paper at the 1-inch x-height, draw it on the banner paper. Use the C-thru ruler to make your guidelines. If the x-height is 1-inch, then the space to the ascender & descender is 1 1/2 inches (Remember the 3 : 2 : 3 ratio). To make the slant guide lines, lay the banner paper over the 1-inch x-height guideline & draw some slant lines with the C-thru ruler.

See pictures of banners from last year’s Copperplate class here. Scroll down the page to entry entitled "Copperplate Banners" and dated Monday, June 1, 2009.

HOMEWORK: Do “friendship” in pencil using the 1-inch x-height handout. It’ll be helpful to trace DeAnn’s “friendship” handout a couple times. Also draw your name (first, last, or both is OK) using the 1-inch x-height guideline. Then write your name on the colored banner paper DeAnn gave us. Don't worry about using capitals yet.
This week’s GOAL: Learn how Copperplate works.
Next week: Capitals.
Project text: think about what you want to write for your project. It could be a poem, song lyrics, quote, or other text. From Satomi’s example, it should be about 60 – 75 words.

No comments:
Post a Comment